Part 2: Things that I learnt from the Knafeh Noga shoot.

Comment

Part 2: Things that I learnt from the Knafeh Noga shoot.

STOP!, before your read this post, go back and watch the clip in part 1 or watch it below and then read this post.

A passion project that I shot whilst on my last trip to Israel. Check out my posts about how I shot it and what I learnt from shooting it on my website - www.capturingpassion.com Music by Cinephonix Get 10% off the purchase of any music with the code MAK10 This can be used as many times as you like, so pretty much 10% off forever at cinephonix.com :)

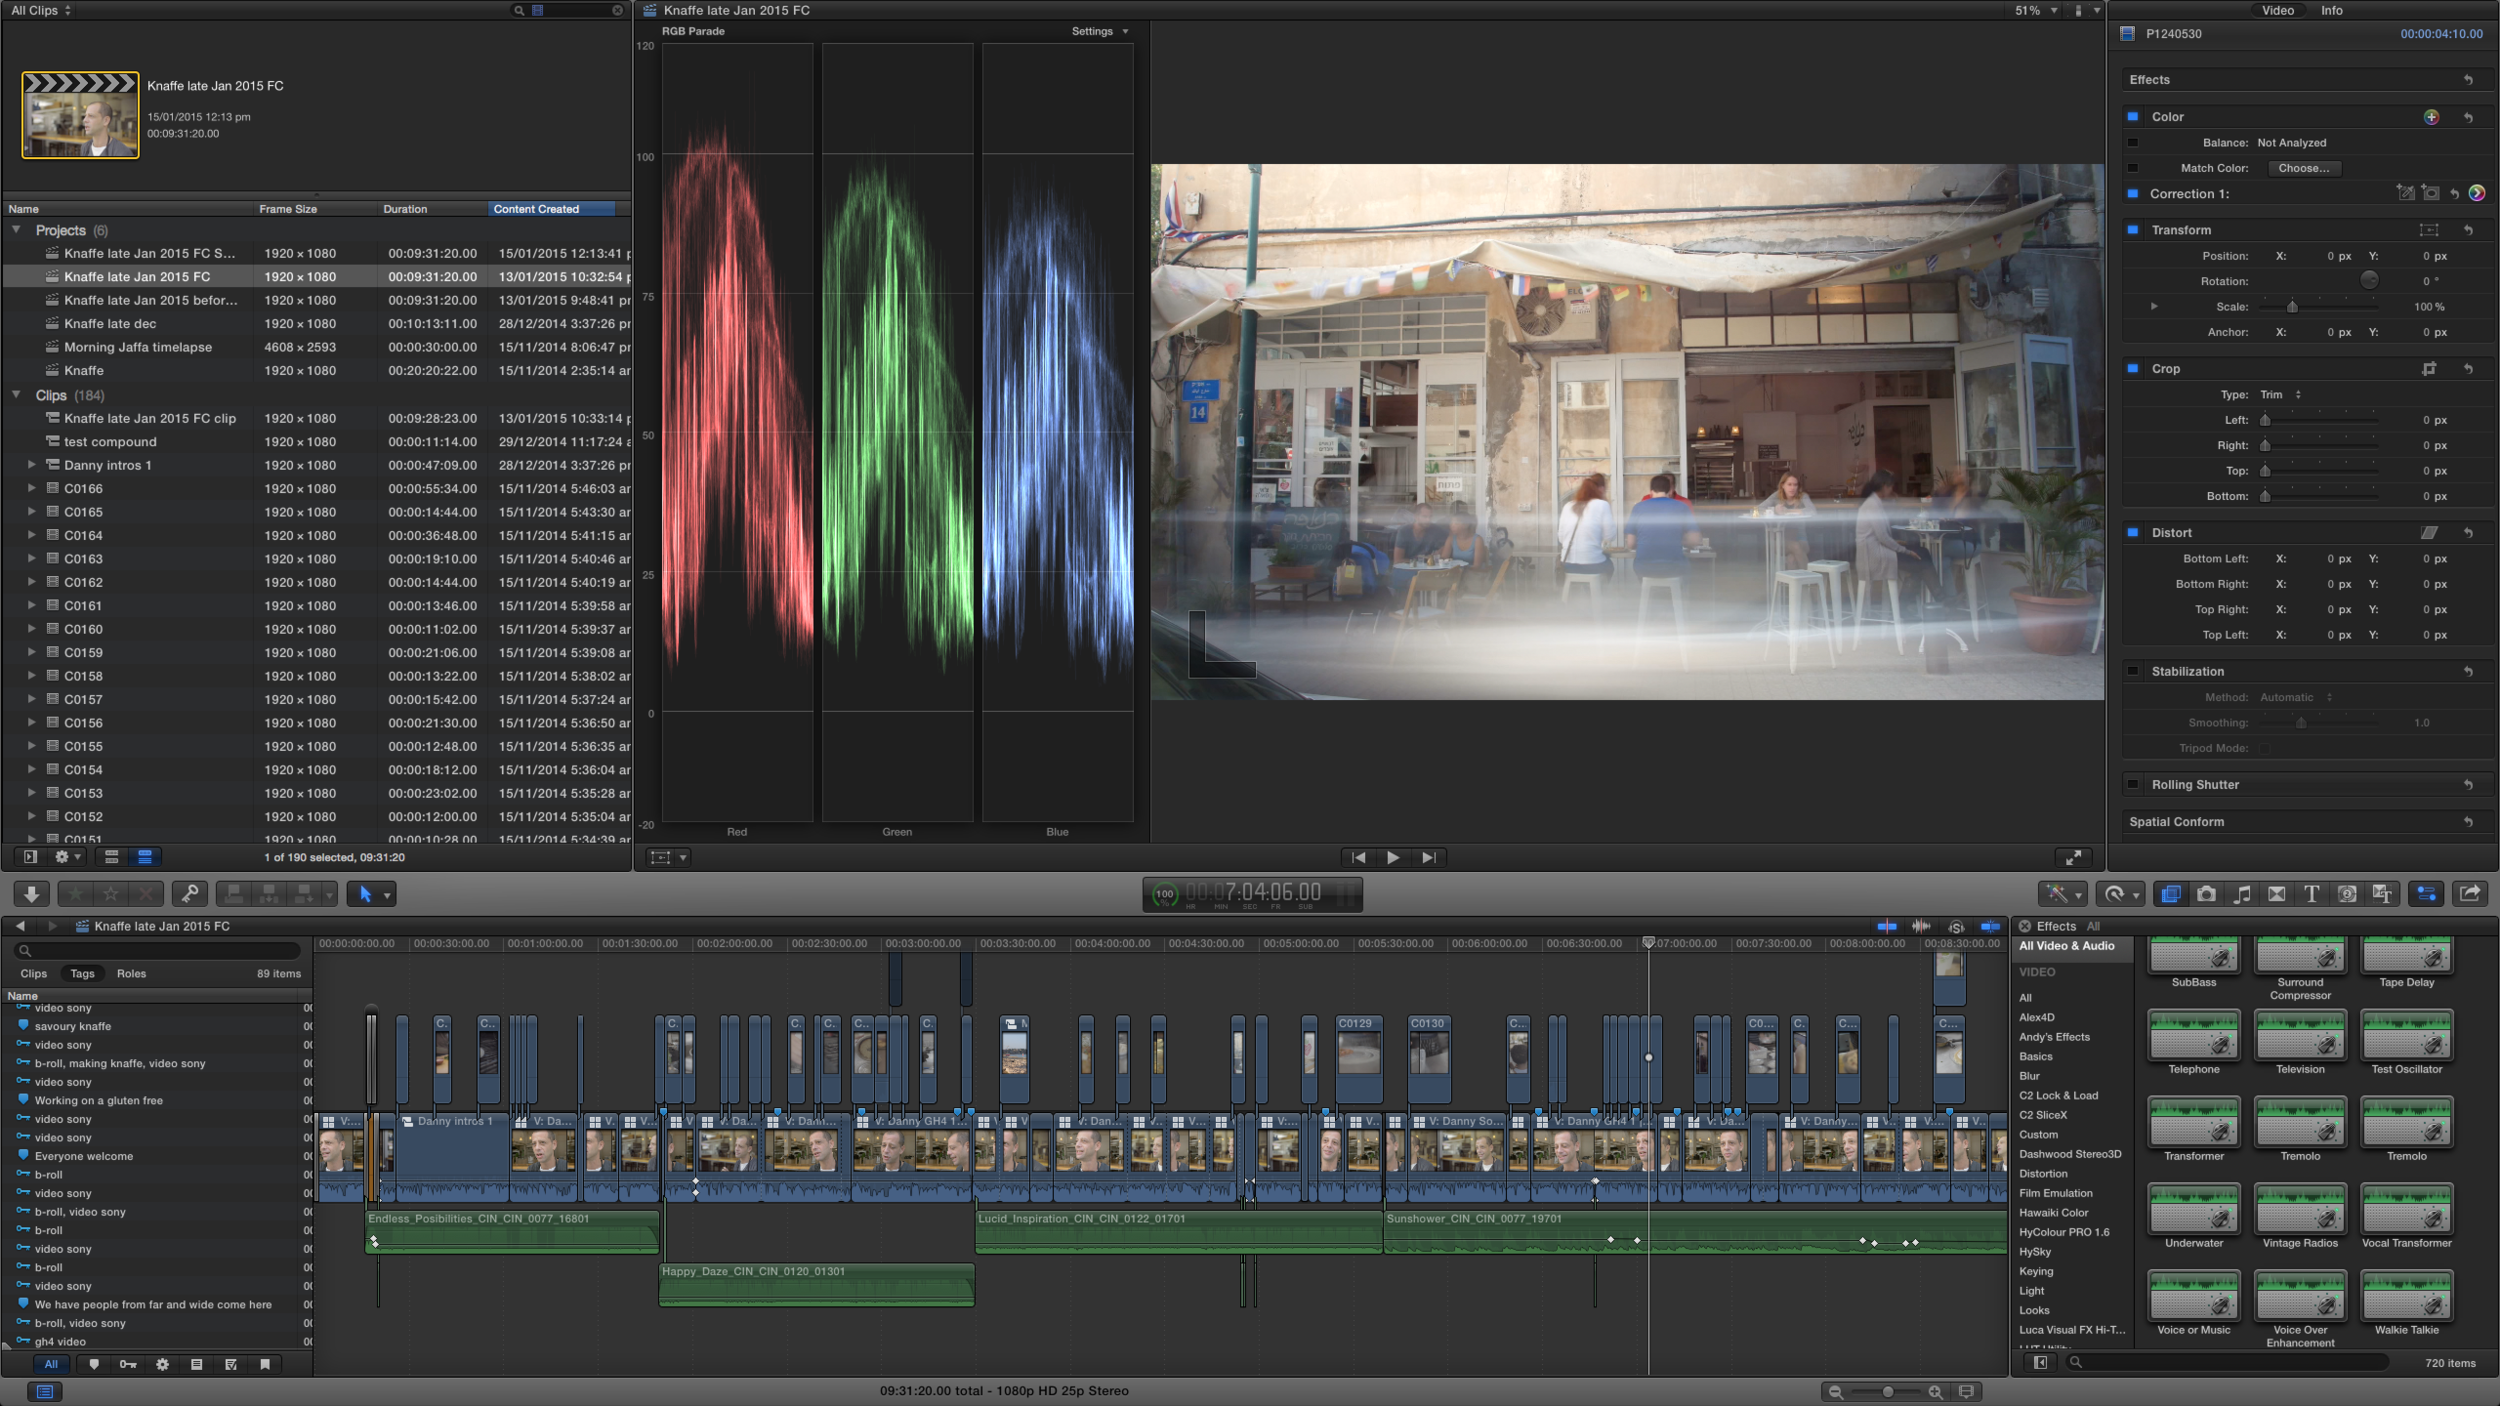
As I edited this, I realised that it was going to make things harder because I only interviewed Danny. Watch most things that are longer than 3-5 minutes and very rarely will they have only one person talking. It was going to be a real challenge to cut this in a way that would make it engaging and keep people’s interest for 10 minutes or so. But, as I always say, the best way to learn is to really challenge yourself and so on I went.

Cutting down the 30 minutes of interview to 10 was, as I expected, a challenge, and I really worried that I hadn’t manage to separate it into distinct sections within the whole story. That’s where the music came in. I spent about six hours finding just the right combination of tracks that I think struck the right notes and created the right moods for each “section” of the video. I know it’s far from perfect, but imagine how it would have been without any music or the wrong kind of music?

It’s amazing how the music made such a huge difference.

I was really excited that I had just gotten my shiny new Zeiss 35mm f1.4 lens and so I shot just about everything on it the whole day on the A7s at f1.4. It looks lovely in some shots, but not in all them. Sometimes it would have been better to have a little more depth of field for variety and detail.

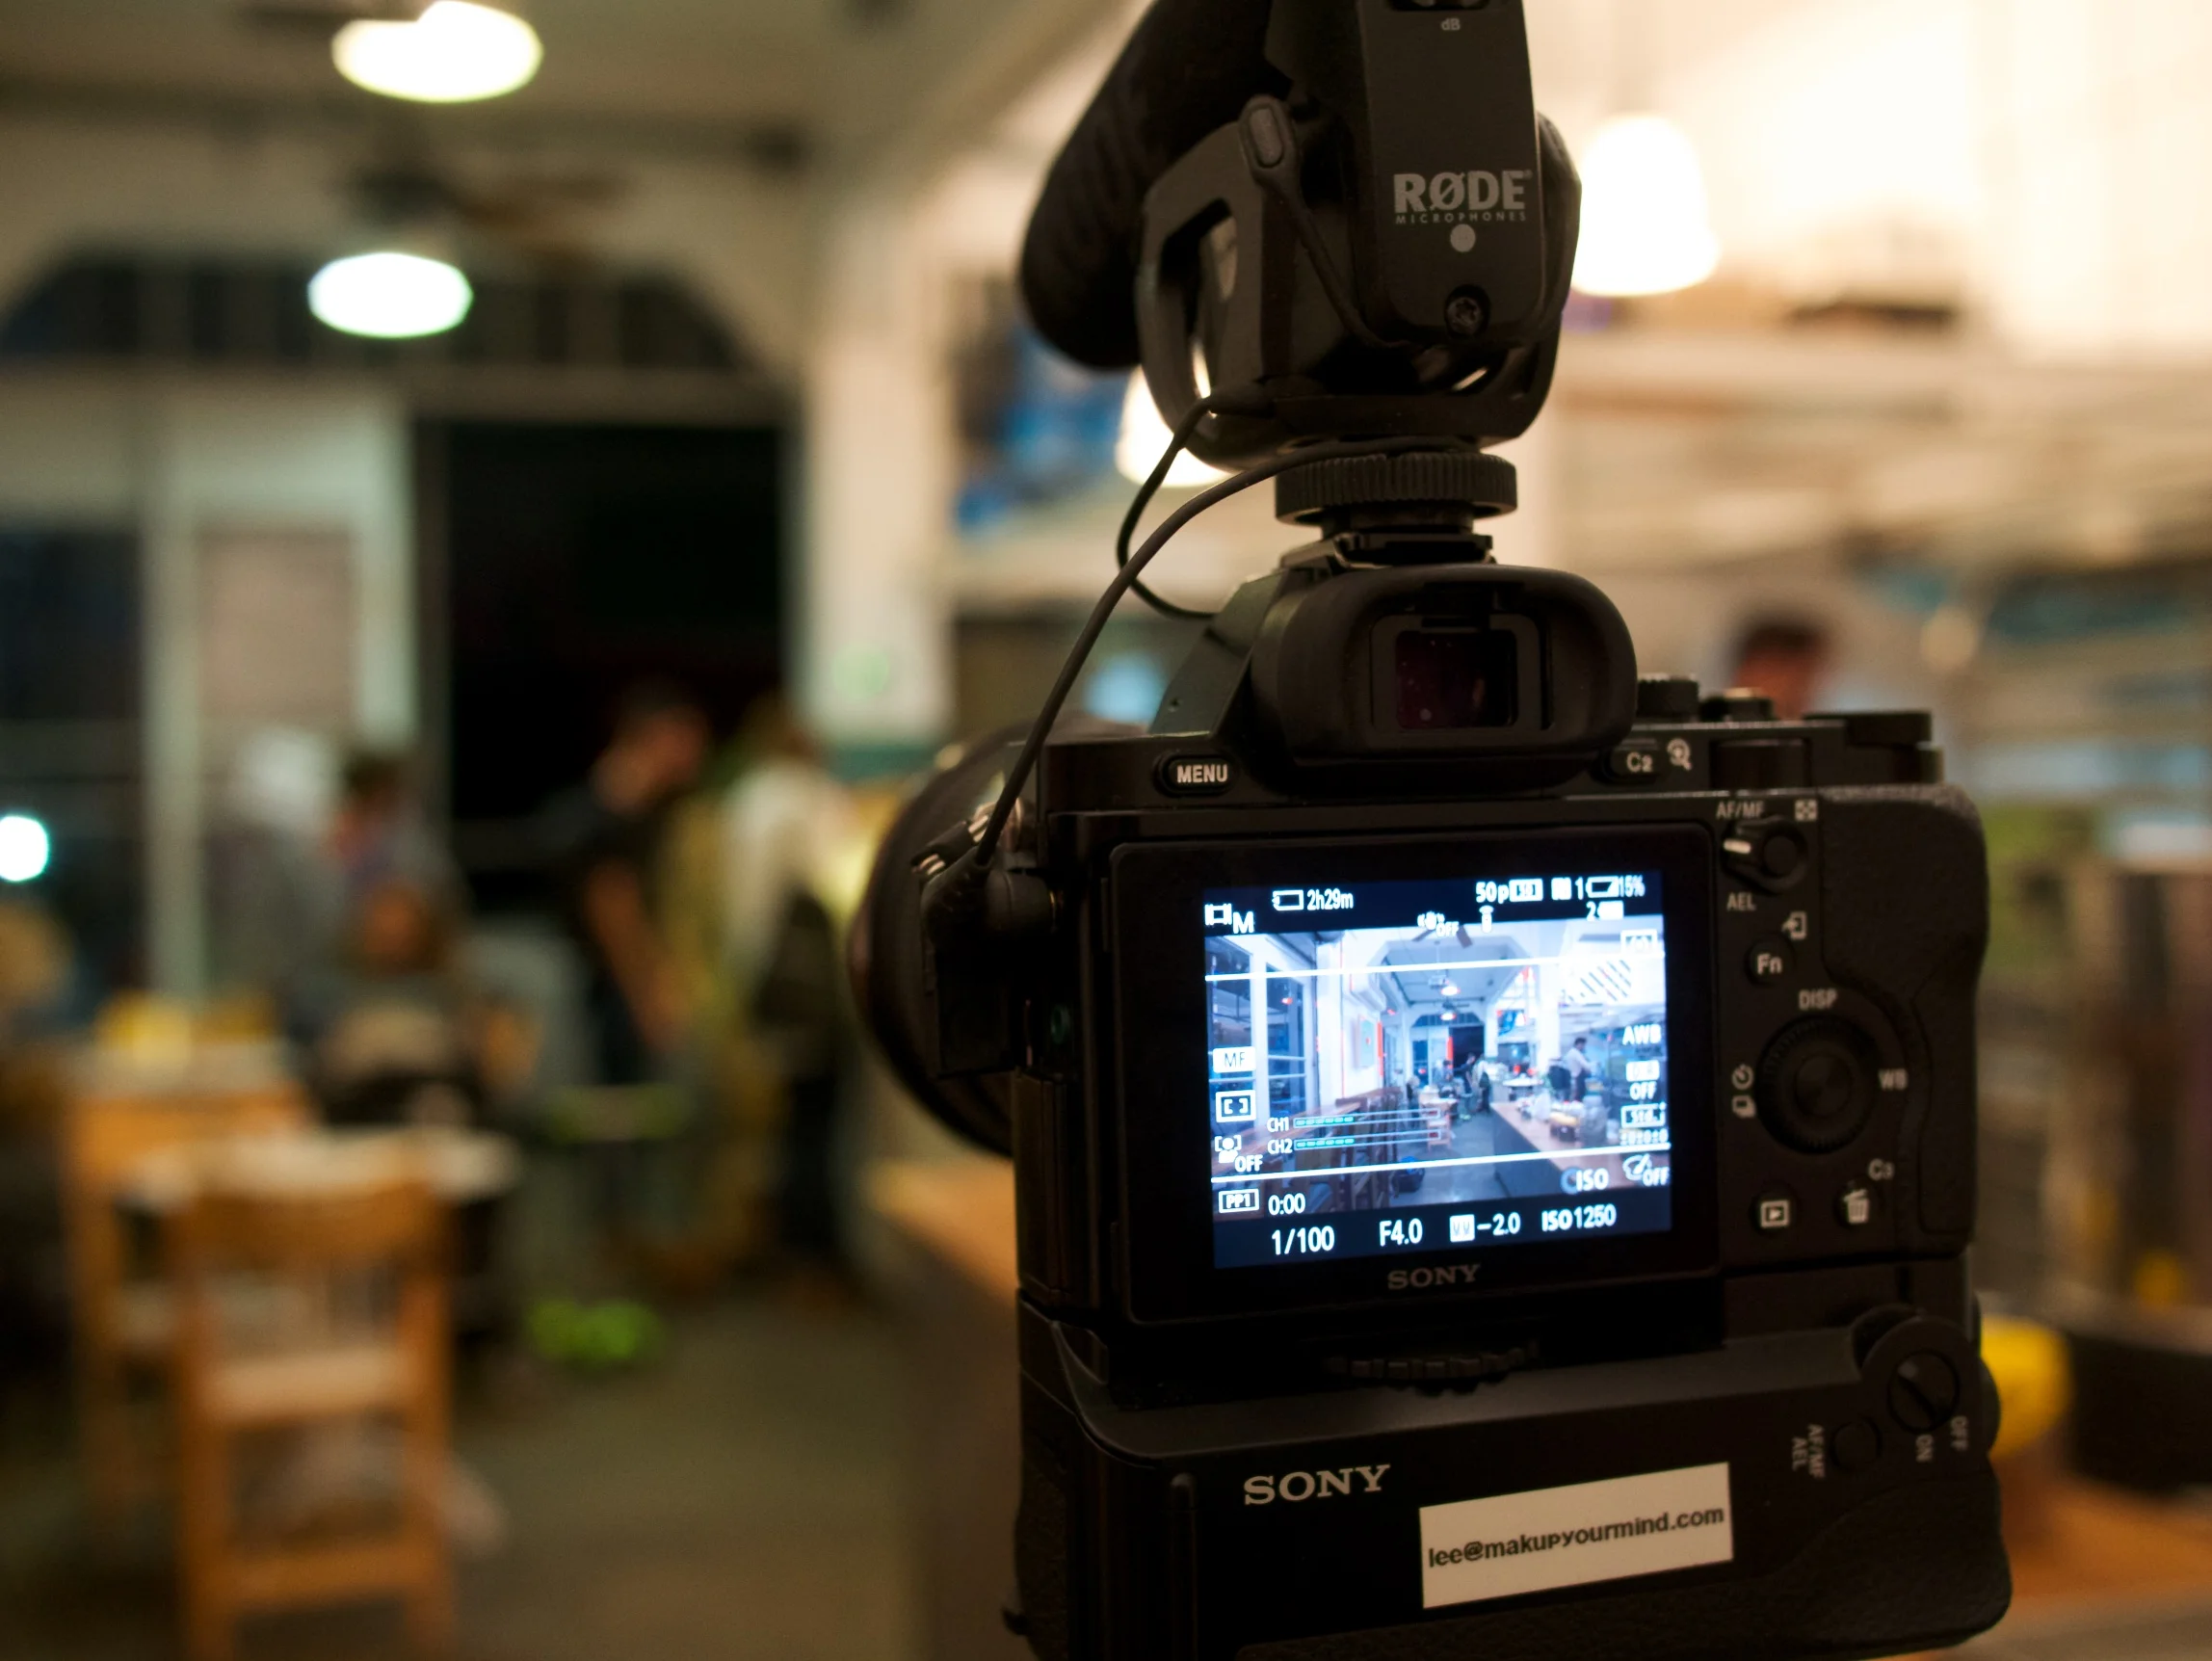
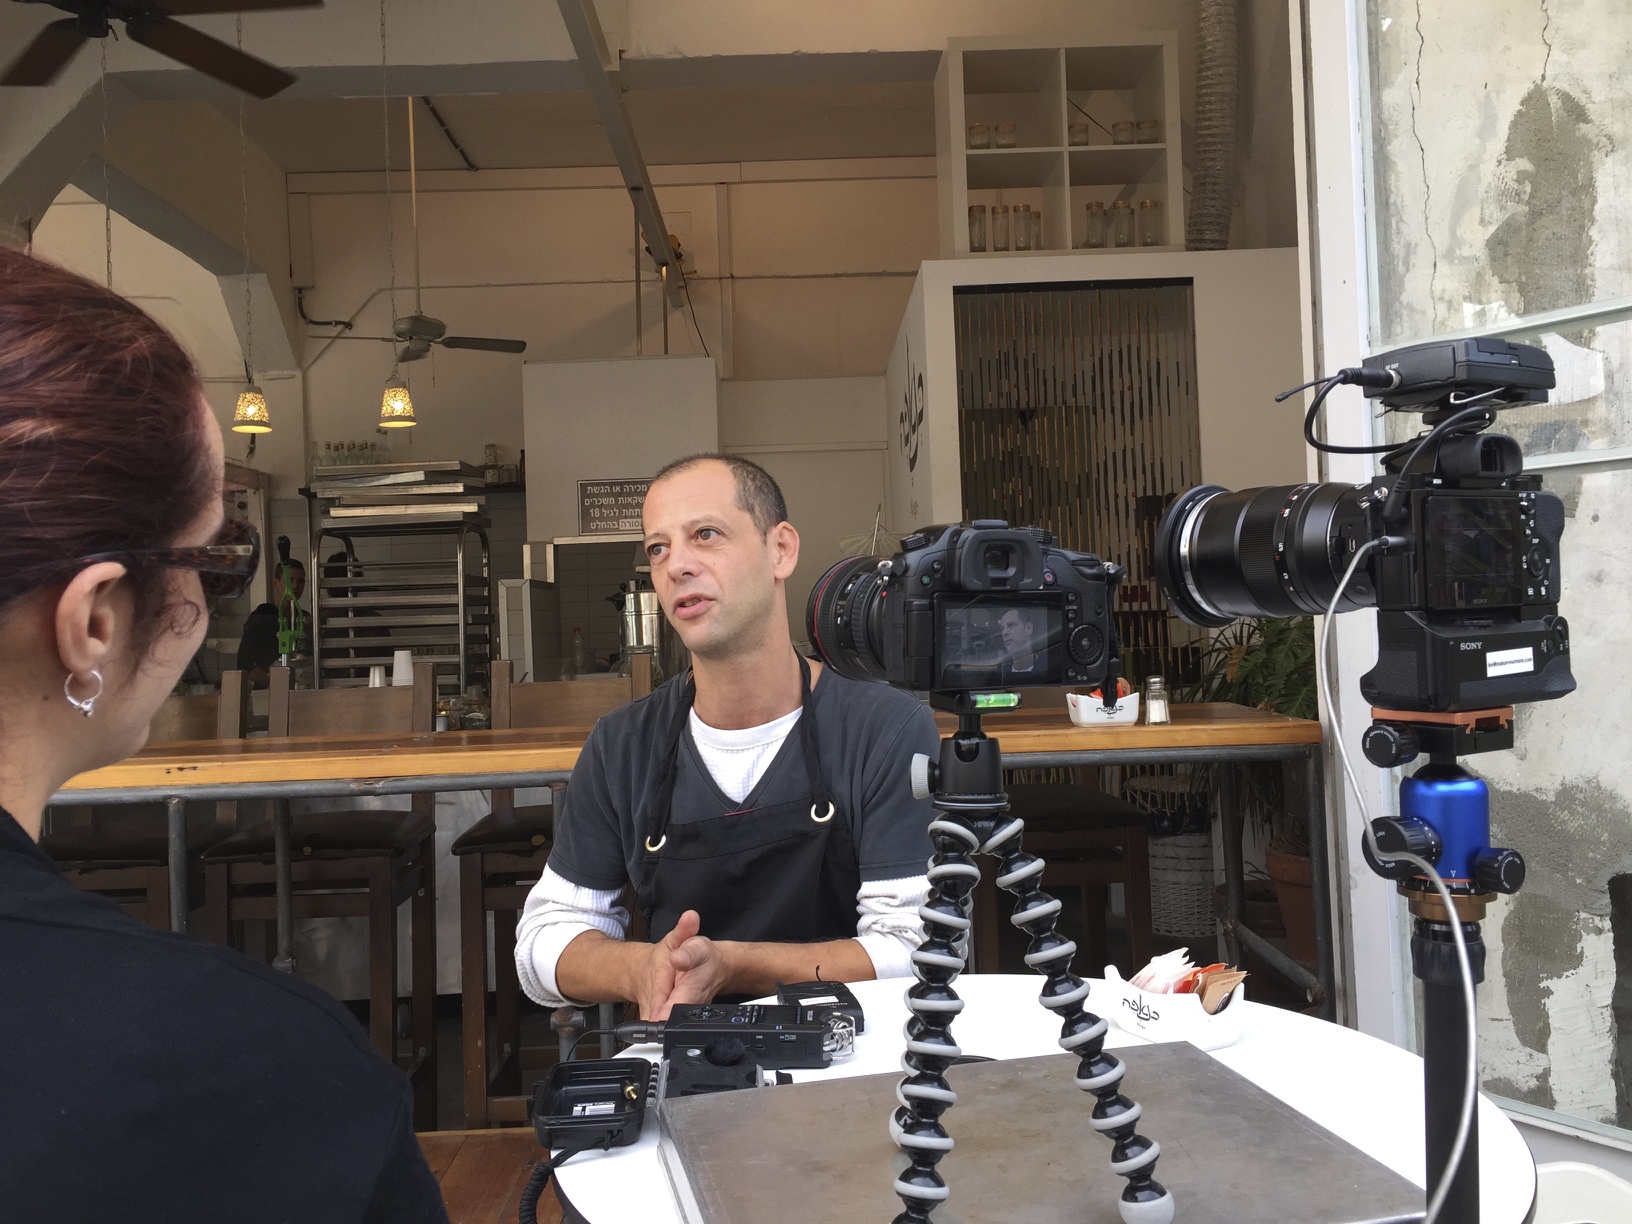
For the interviews I shot at f2.8, so every time Danny leaned back or forward he would go out of focus. He’s a very passionate guy and not one for keeping still! I applied FilmConvert to the footage and it helped hide some of that, but you don’t have to look too closely in some of the shots to see that the shirt at his neck is more in focus than his face. I have asked subjects in the past not to move back and forth as they will go out of focus is I am shooting very wide open, but these people aren’t professional actors or presenters and they forget.  Even professionals who are on camera all day long forget. The lesson I’ve taken from this experience is that, unless you know your subject isn’t going to move much, don’t go wider than f4.0 when shooting interviews.

The other thing I noticed as I cut it was that I didn’t get enough medium and wide shots to use as establishing shots for the lovely shallow depth of field close ups. I think those sort of shots work really well. For example, at 06:31, I have a wide of Danny separating some herbs and then cut to a close up of his hands doing it. I wish I had shot more sequences like that. Not necessarily for every one, but it’s nice to have a few options. The time lapses helped me get away with not having a lot of wides and I am pretty proud of myself that I thought to get them and use as establishing shots. Still, I will know for next time get get mediums or wides of more things.

This is also a good lesson in regards to planning. It is totally possible to just show up, shoot some footage and make something out of that. Every event that I shoot is pretty much that. Most times I haven’t been to the venue before and so it’s totally possible. BUT, if you have the option to plan things out, it’s going to make your life a lot easier when it comes to editing.

For example, the next passion project I am working on, I plan on shooting the next week, but I’ve been thinking about this shoot for a few weeks now and so, when I had some free time, I went to the location last week and shot some test footage. I now know what compositions are going to work, which ones aren’t going to work. The shots that I might need lights for and the ones I can get away with natural light with.

You don’t have to go to the extreme of going to the location and shooting footage before your shoot, but if you can just go and take some pictures or even check out on Google street view (far from ideal, but better than nothing) The more preparation you can do, the better. 

I didn’t get a lot of shots of people and for that I need to grow a pair. I am super aware of not shooting people in public places as I am terrified of confrontation. I am sure most people would be cool about it, but I am just a bit of a coward and have to get over that. I suppose this was also a even more weird case because if people asked me what the video was for, I didn’t have a really good answer. I was just shooting and figured I’d do “something” with the footage later. Yeah, that doesn’t sound at all dodgy.

Another thing that I am getting better at, but still wasn’t 100%, is being more forceful. You’ll hear in some of the clips that the music in the cafe is so loud that it can be heard whilst Danny is talking. It took me about 10 minutes into the recording to ask Danny if he minded if we turned it down a bit. He was more than happy to oblige. So I really should have said something sooner. 

There is a balance of course. The reason I didn’t ask sooner is that I was hyper aware of the fact that everyone in the cafe was helping me out of the kindness of their hearts and I don’t want to come across as a bossy douche when people are being so nice.

Having said that, as long as you ask nicely and politely, most of the time, people are happy to help.

Every time I re-watch this I see another thing that I am not 100% happy with and more bits that I want to change. There is a saying in the video production world “No job is ever finished, you just run out of time and money”

So even though I know this isn’t perfect, I’ve been working on it for a while and I am really excited about sharing it. I hope you enjoyed it and I really hope you find my insights and thoughts on the process helpful.
Comment

Part 1: Being open to new things (and capturing them!)

2 Comments

Part 1: Being open to new things (and capturing them!)

Blog post coming once this goes public.

While on a recent trip to Israel, Mandy’s cousin invited us out for dinner. As it turned out, she lived very close to where we were staying in Jaffa and so we met her on the far end of the Tel Aviv beachfront.

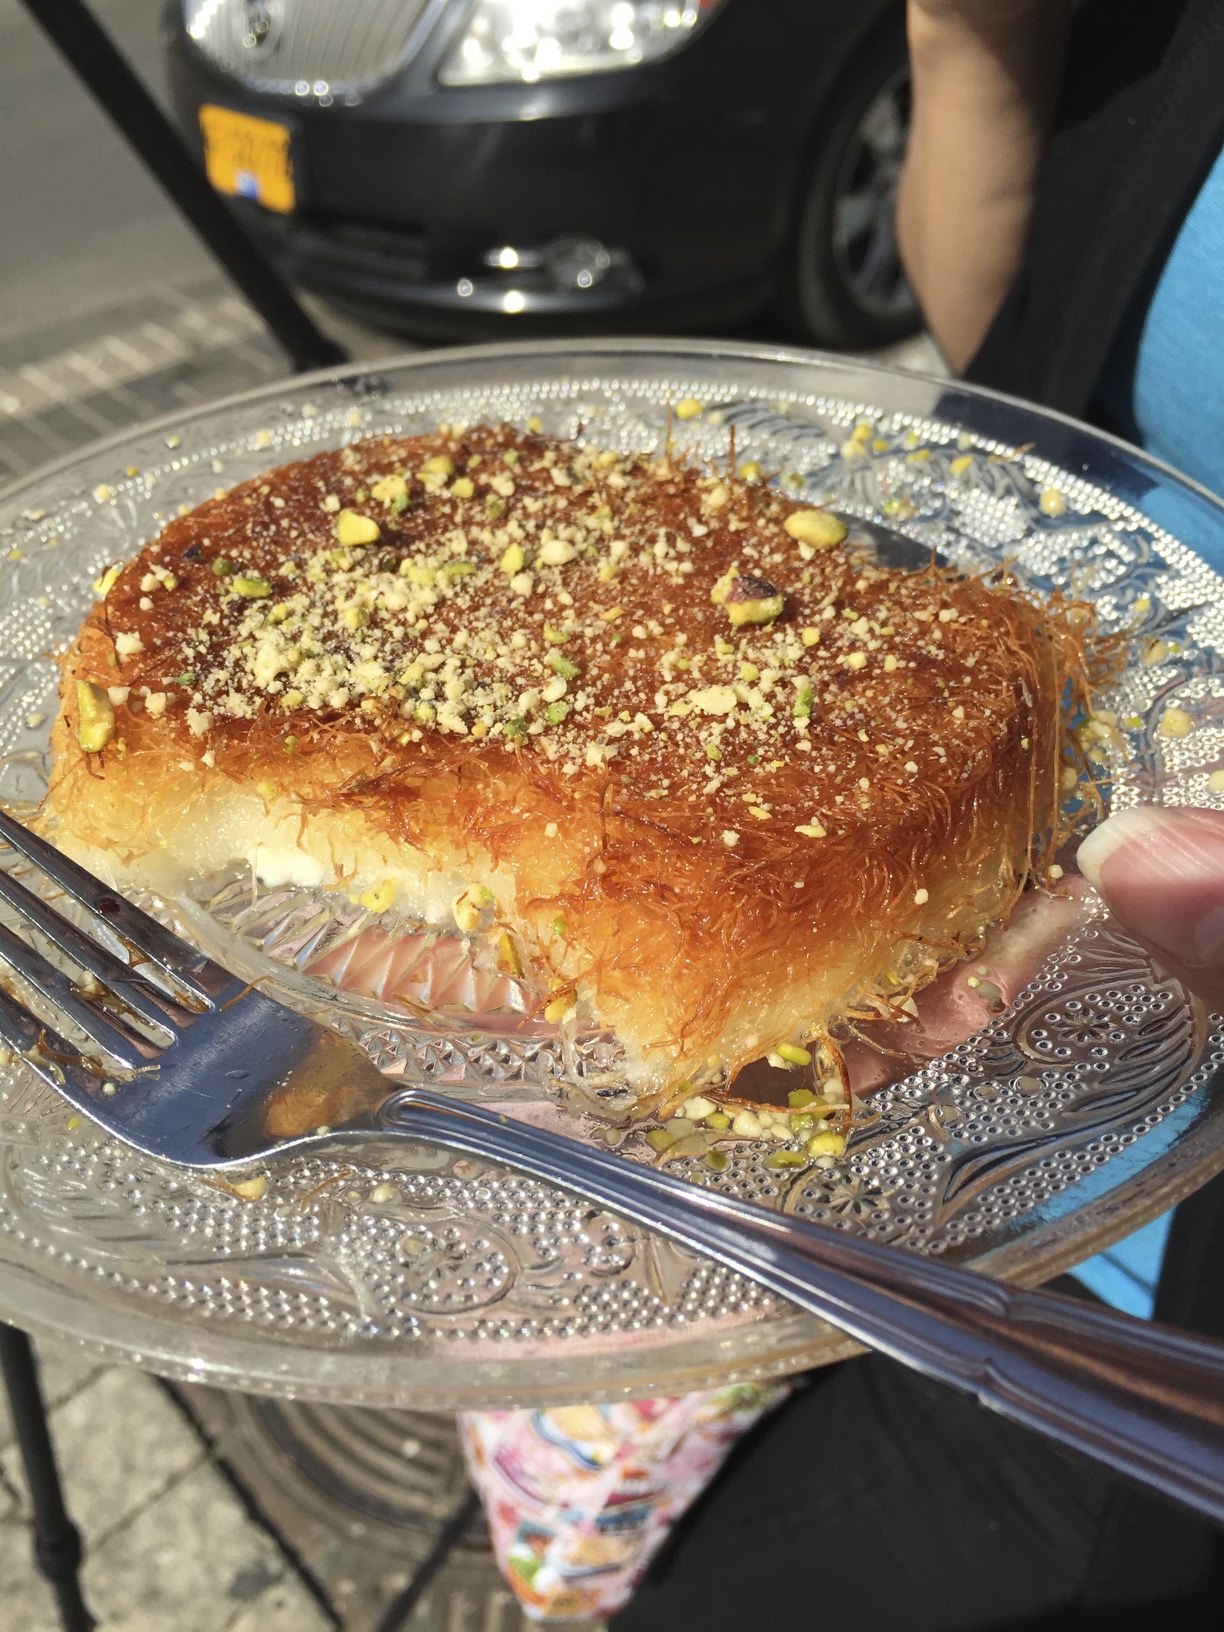
She mentioned that she really wanted to take us to a great little place near her that made knaffe. We had no idea what knaffe was and when we asked, she said it wasn’t easy to explain and best that we just see what it was.

This led to one of those lovely travel adventures. Knaffe Noga, the restaurant she took us to, is a lovely little place on a street corner in the very vibey Noga district of Jaffa. But what is knaffe, you ask? I am not even going to try and describe it, but let’s just say it’s very yummy.

Now anyone who knows me will know that I can be a pretty cynical grumpy old grouch and I don’t really go in for most spiritual mumbo-jumbo, but this place really does have a great energy to it. I think it’s a combination of the passionate friendly staff, the delicious food and bohemian feel of the area.

As we were leaving, we started up a conversation with Danny, the owner. His passion for what he was doing really shone through and I immediately knew I wanted to capture his story. I asked if he was camera shy and when he said he wasn’t, I asked if I could come back in a few days with my cameras, interview him and shoot some footage of his place. 

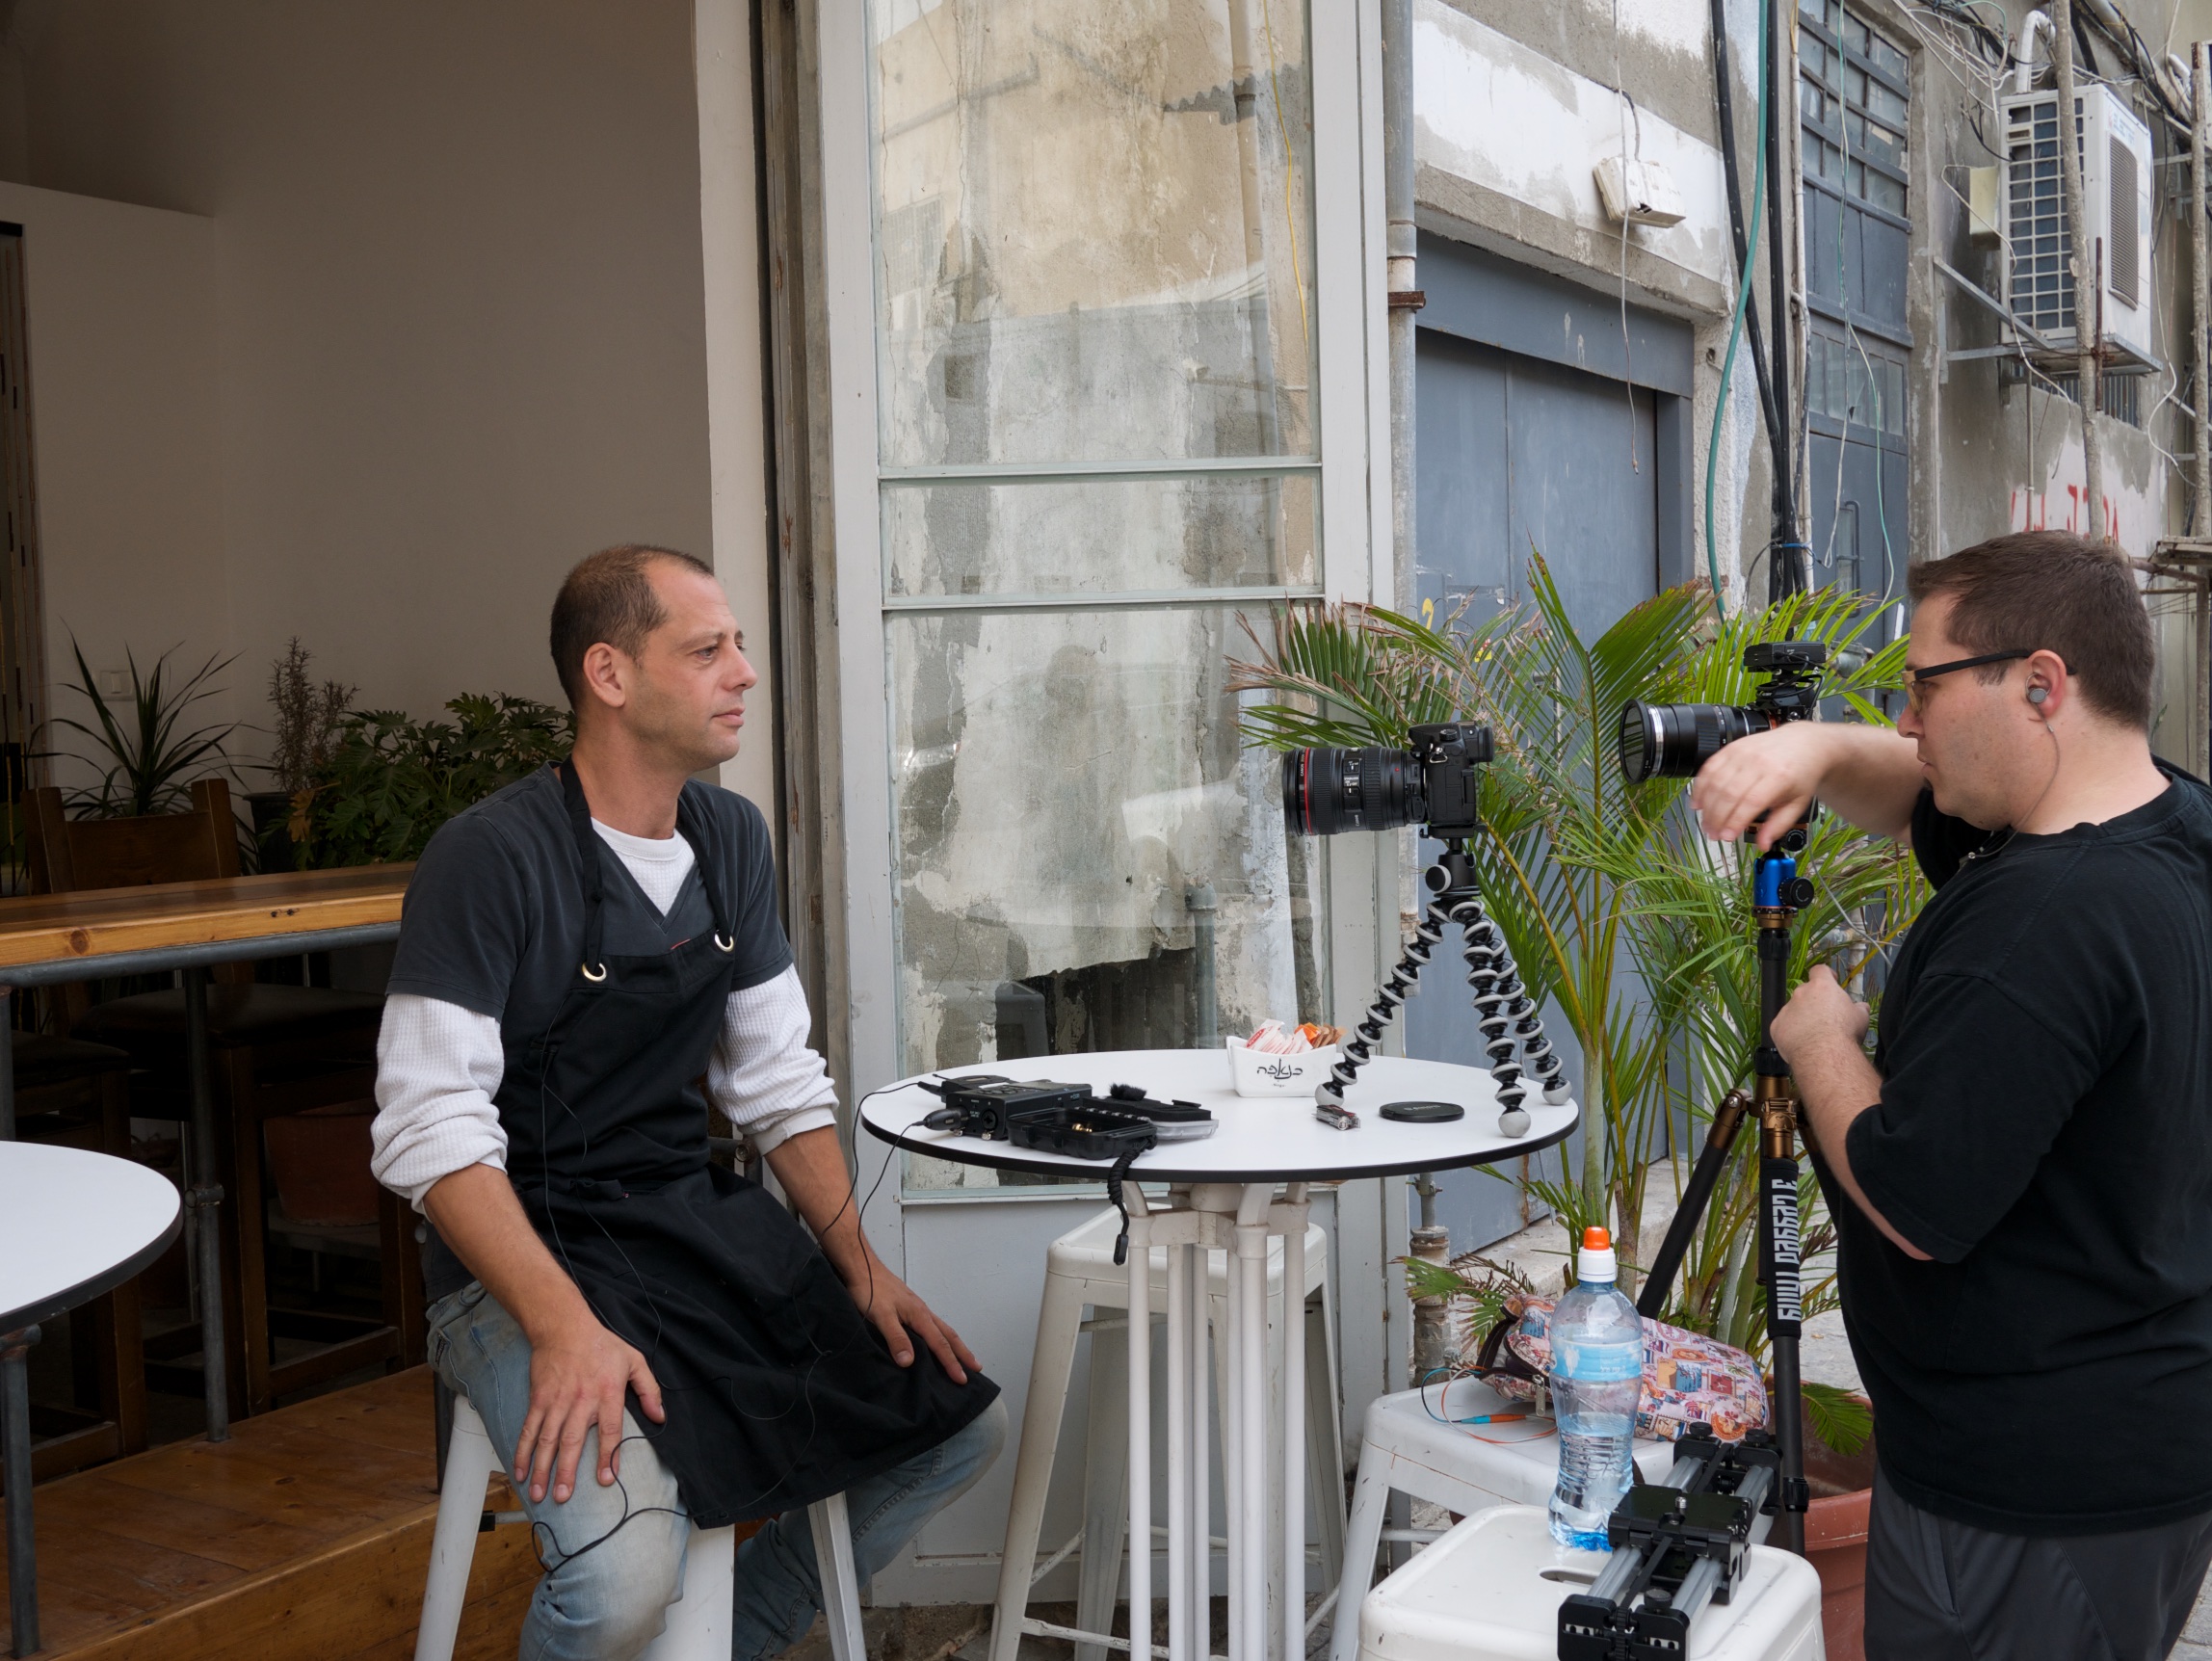
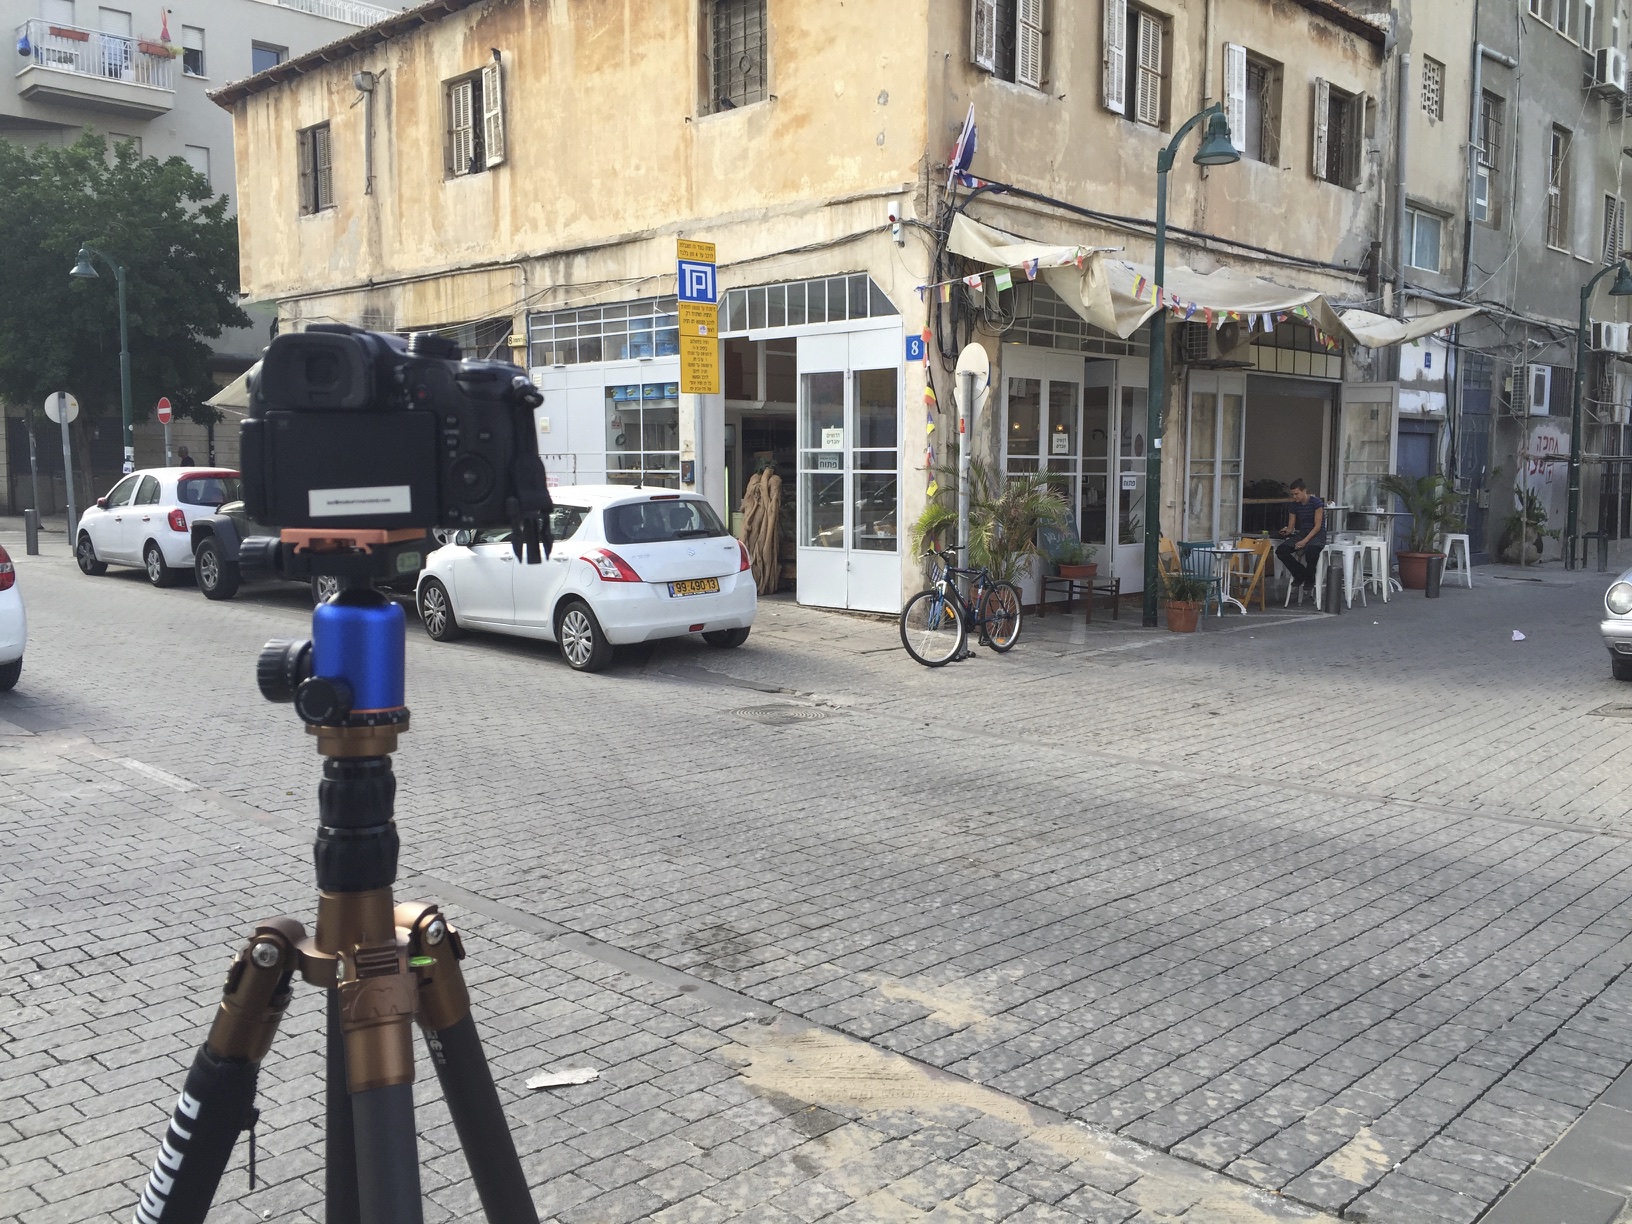
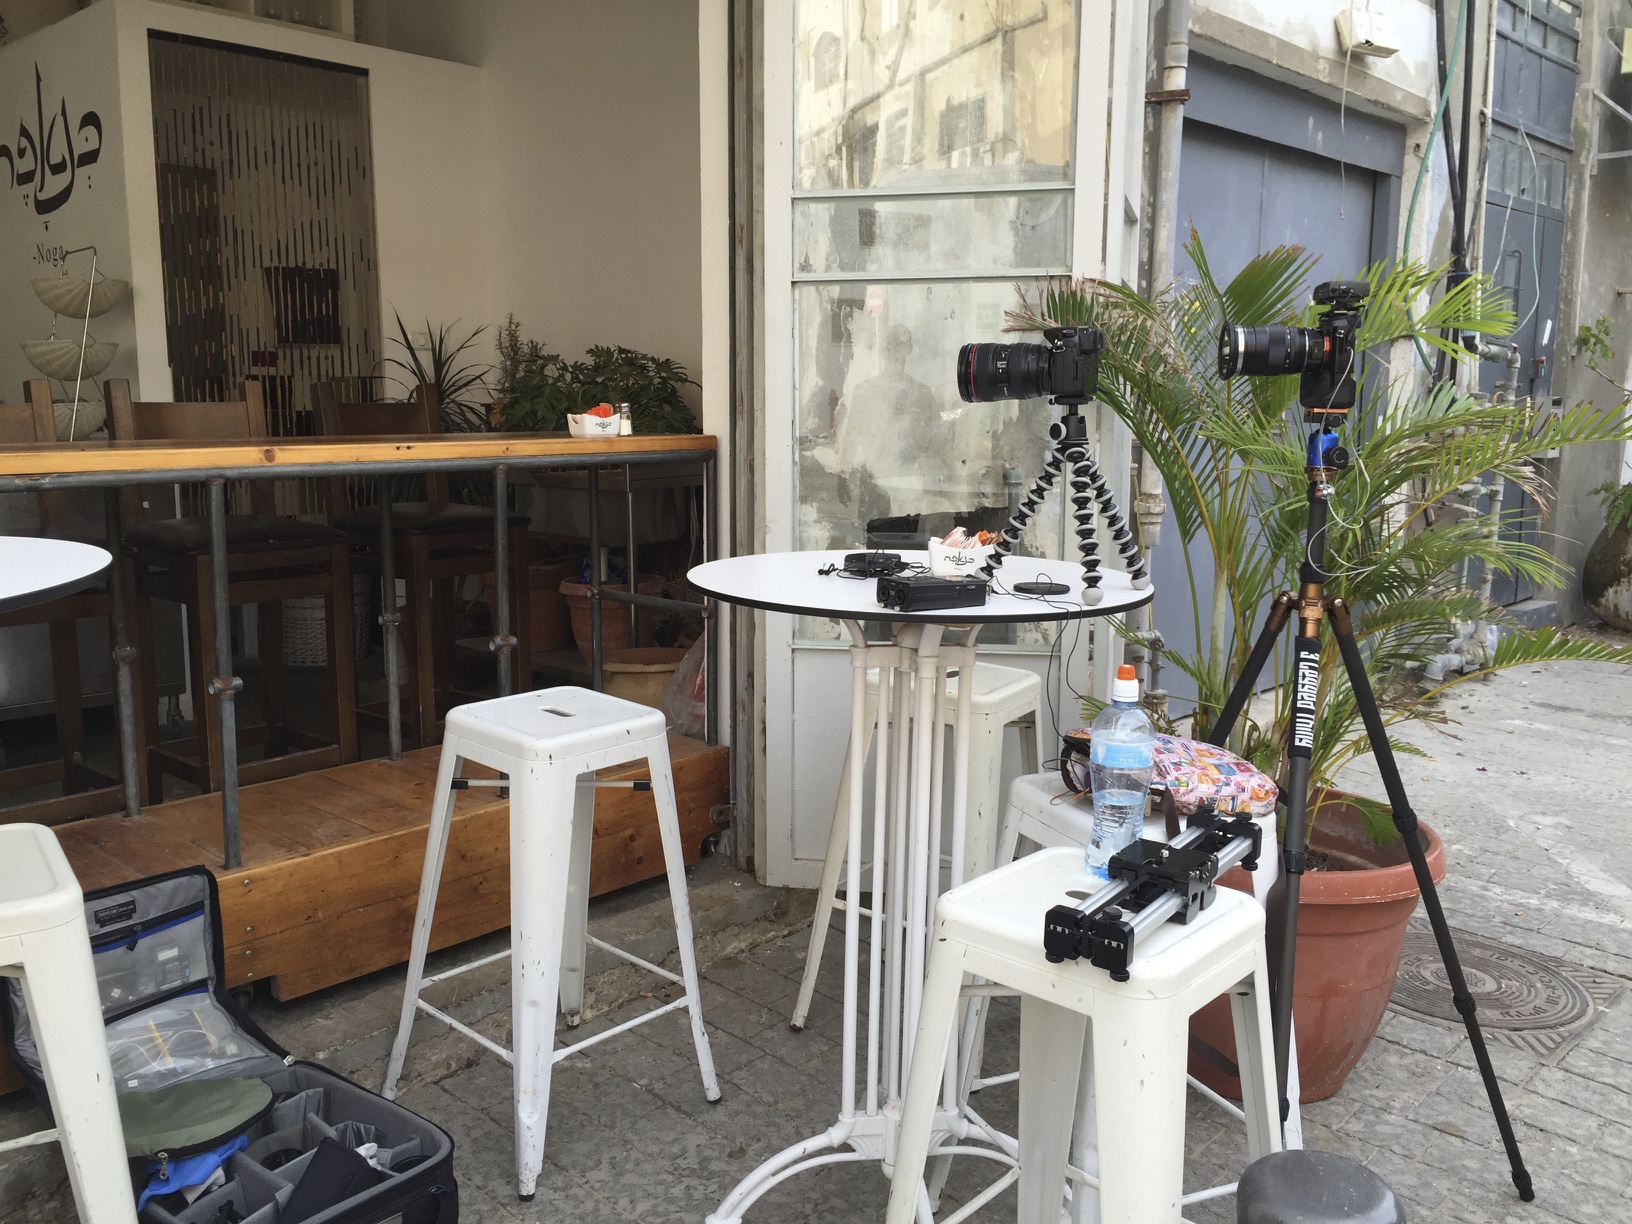
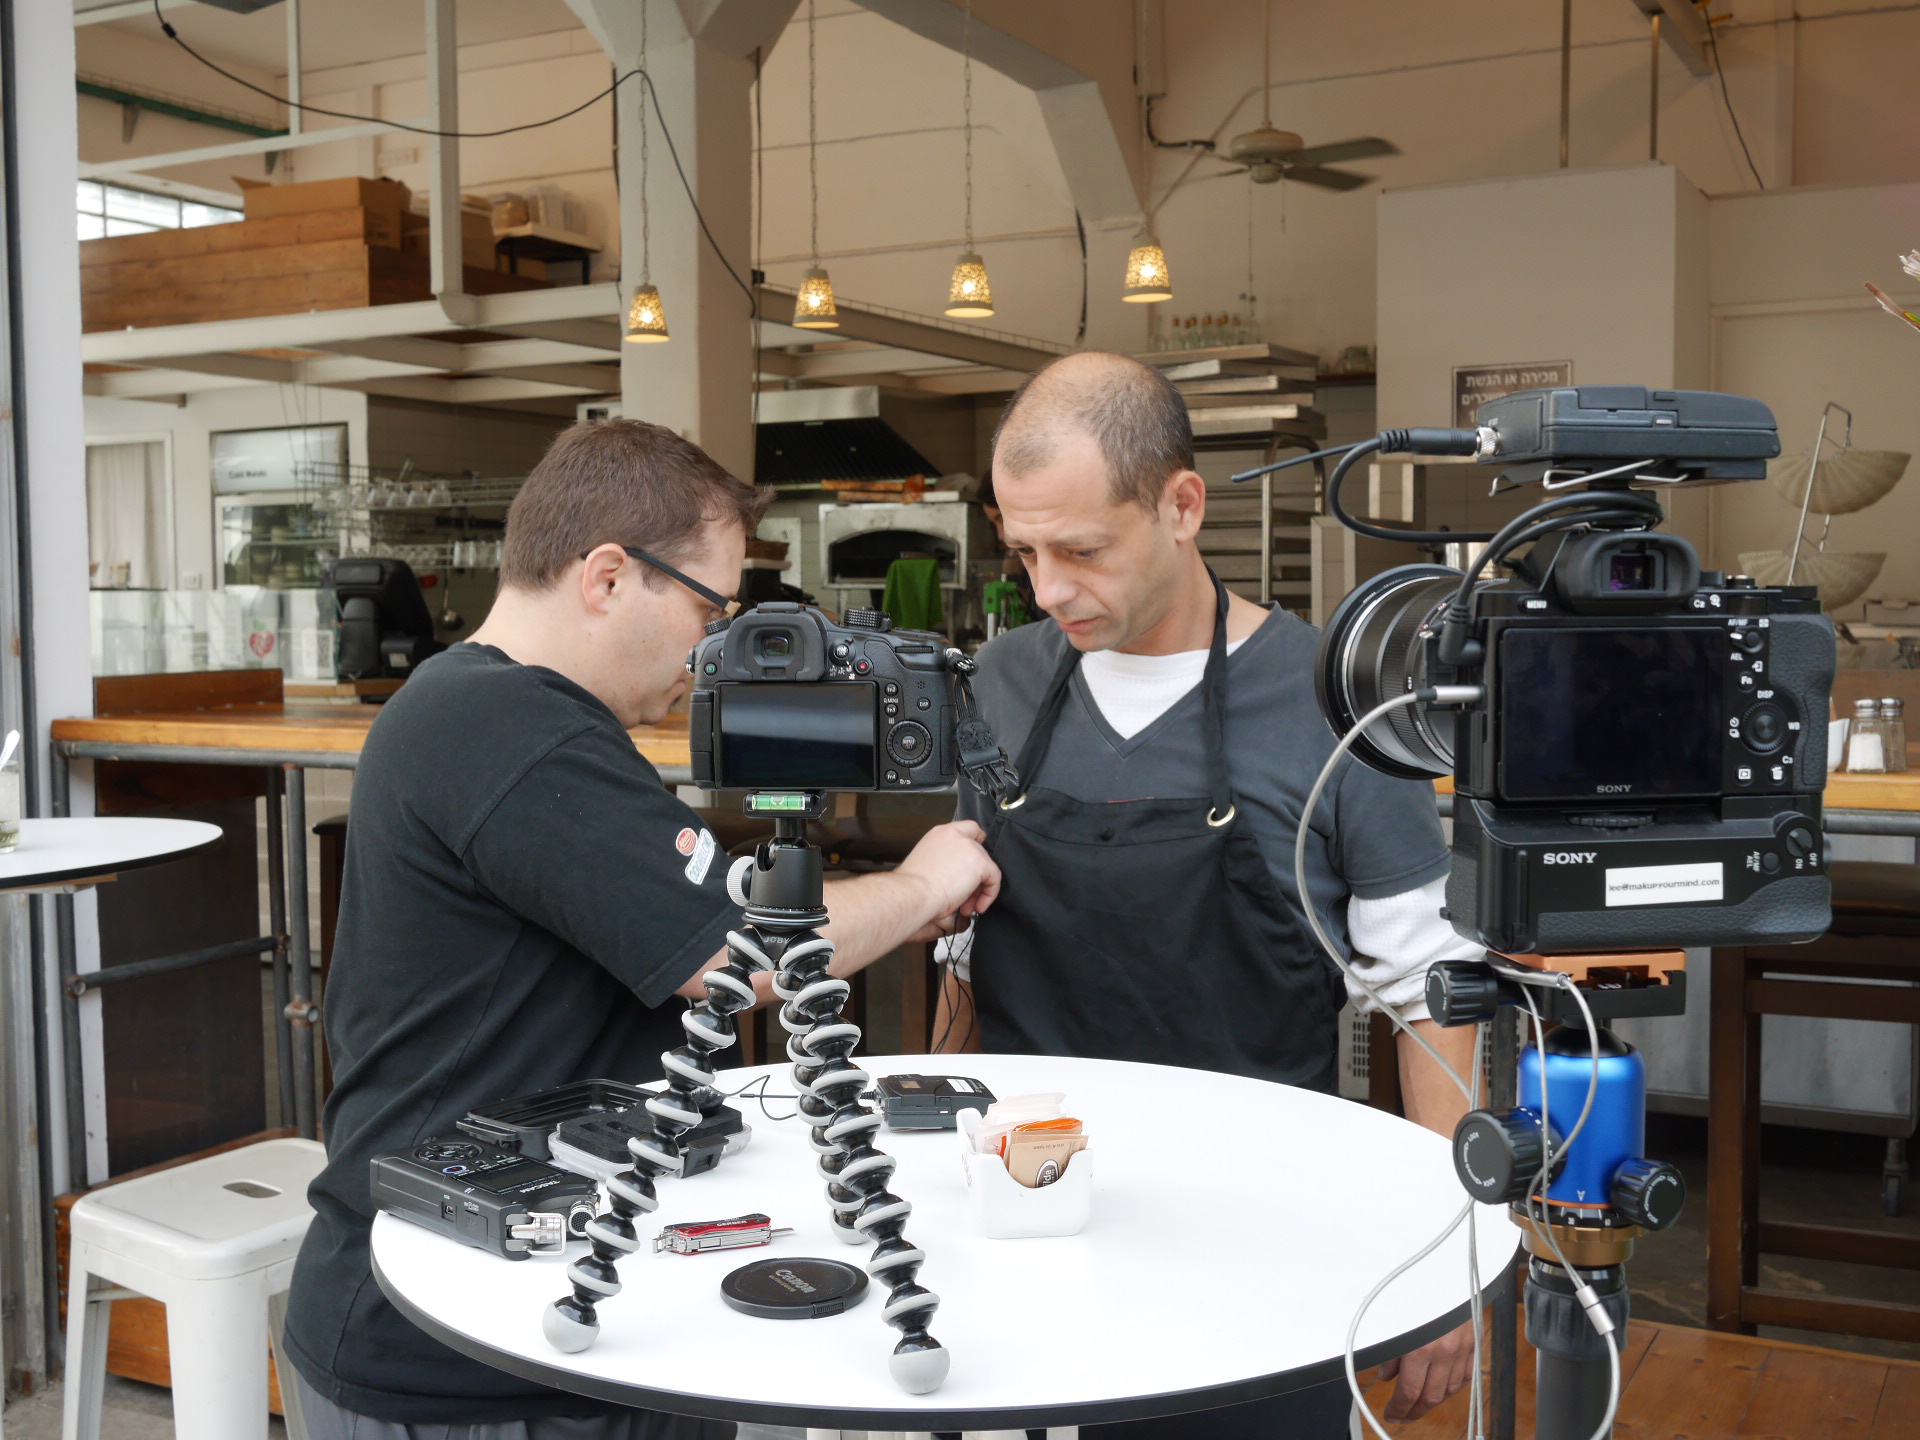
So few days later, we came back, laden with gear, and set up the interview. He turned out to be just as comfortable on camera as he mentioned and we had a great time learning about his journey and seeing him light up as he talked about his passion. I had a moment of brilliance, if I do say so myself, while he was talking. I noticed that he was talking a lot with his hands but I didn’t want to interrupt his flow to adjust my set-up. I was shooting with my GH4 and A7s, but Mandy also had her GX7 on the table. So I quickly grabbed that and shot some clips of his hands as he spoke. I was really happy I did as I think they cut into the final story very well.

Funny side story about those GX7 shots. The other cameras were shooting on the flatest profile possible and so even after I colour corrected them, I had to desaturate the GX7 footage of the hands so that it would match.

I then shot tons of B-roll around the cafe as Mandy guarded the GH4 across the street while I set it up to shoot some time-lapses. This showed just how much my wife loves me. She stayed outside for two 20-minute time-lapses in the sun and it was “warm”. That is true love! 

As for what I was going to do with all this footage, I really didn’t have a definite idea. I had assumed I would just do your standard 2-3 minute corporate promo-type edit but, as I started going over the footage, I just found Danny’s passion so engaging that I decided to try my hand at a longer form video.

I have some ideas for some documentaries that I want to shoot over the next few years and I figured this would give me a perfect opportunity to practise long form. It’s one thing to hold a viewers attention for 3 minutes, but 8 or 10 minutes? That is something I haven’t done yet. Well I did do a 20-minute clip while I was at Apple, but I can’t talk about that… :)

I am thrilled and humbled that Danny helped me feed my passion by allowing me to capture his.

Be sure to also read part 2 - Things I learnt from the edit.


Music by Cinephonix
Get 10% off the purchase of any music with the code MAK10
This can be used as many times as you like, so pretty much 10% off forever at cinephonix.com :)


2 Comments

Time Lapses, or what I've been up to the last 4 weeks

3 Comments

Time Lapses, or what I've been up to the last 4 weeks

A set of time lapses from my trip to Israel and Hong Kong. Plus a couple from Melbourne. Music by Cinephonix

So for anyone who was following on social media during my last trip, you would have seen lots of pictures of my camera while I set up a bunch of time lapses. I was experimenting and seeing what works, what doesn’t work, what I like and what I don’t like.

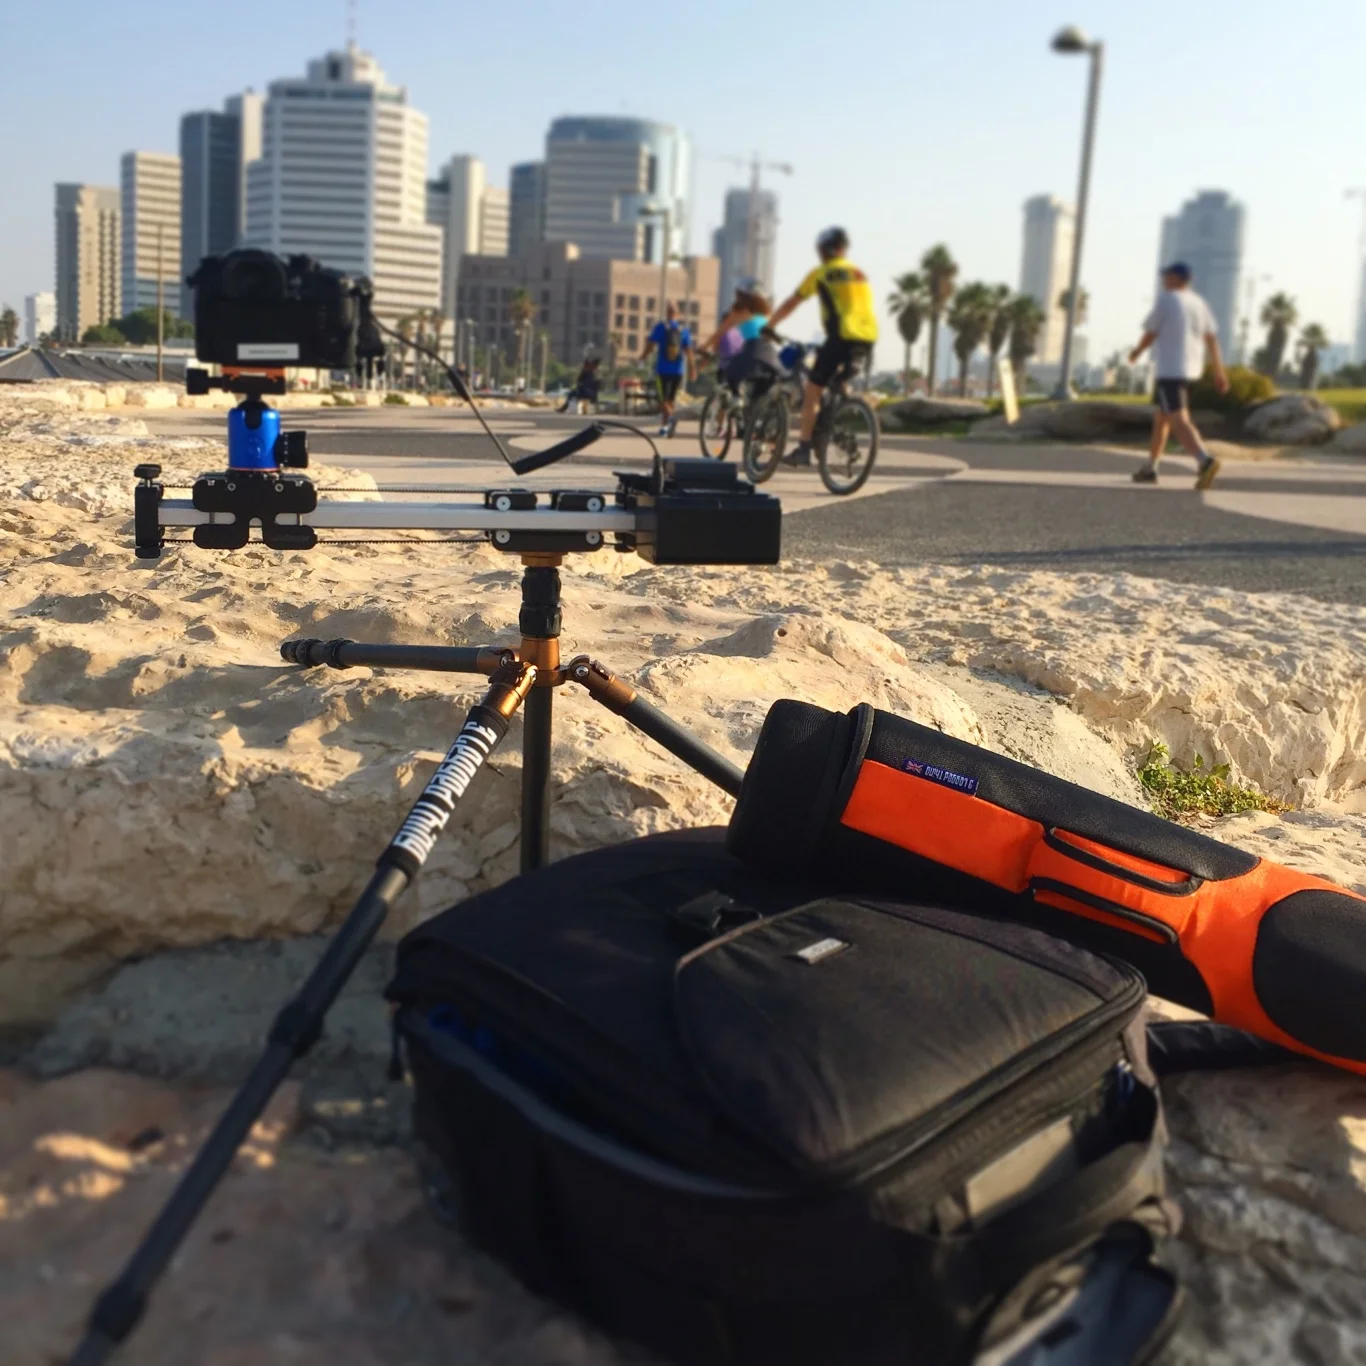
The GH4 has a fantastic time-lapse function built in and I had the Edelkrone motion unit with me, which also makes it really easy to take time lapses. So all you have to work out is what shutter speed you want to shoot at and the interval at which you want to shoot.

Your shutter speed will decide how movement looks in your time-lapse. I find a one-second exposure gives me just the right amount of blur and doesn’t overexpose with my ND filter dialled to the max :)

If you want less blur, but still have a bit of it, go for a shutter speed of 1/6. 

Then there is the interval. I find a shot every six seconds works well for landscape time-lapses, which ends up being most time-lapses!

The other thing I learnt is that when you’re shooting anything with a slider, you want to have something in the foreground. You’ll notice for example in my video of the time-lapse out the window in Wan Chai, you don’t notice that it was done on a slider until you see the window frames come into, well, frame. You need to have an element in the foreground, close to the camera, to accentuate the movement otherwise it can be too subtle to be noticed at all.

You’ll notice in most of the sideways moving sliders I always had the ground or something in the foreground so that the viewer can see that the camera is moving.

I’ve also created a short tutorial below about how to take your images and then put them together in FCPX, enjoy :)

A short tutorial showing you how to easily create a time-lapse in FCPX

3 Comments

Mikey Jaffa

Comment

Mikey Jaffa

My super talented brother, passing the time whilst I expermient with Time Lapse.

Last time we were in Israel, my brother Mikey took us to this amazing hummus place in Jaffa and we were really keen to go back this time. I also wanted to take my gear down to the waterfront in Jaffa and experiment with some time-lapse stuff.

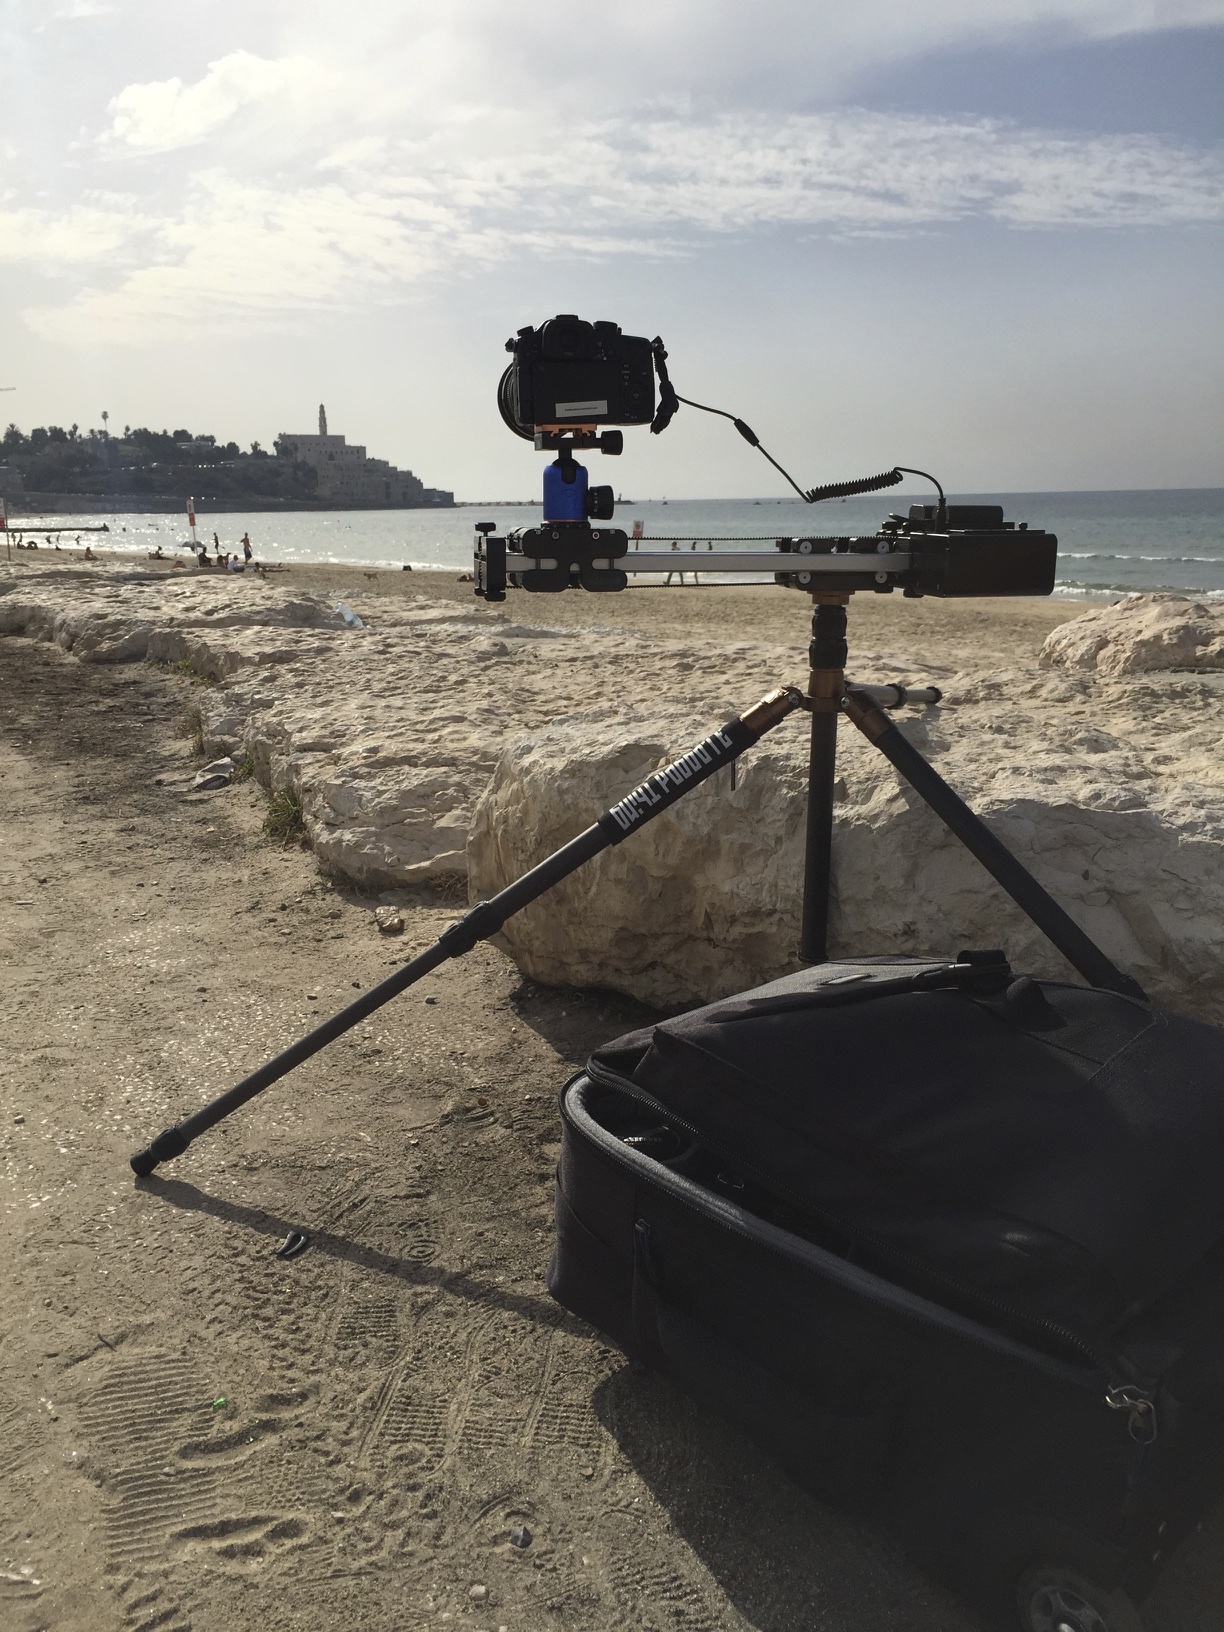
The hummus was amazing, as always :) After filling our bellies, we headed down to the waterfront. There was a lovely spot to set up my 3Leggedthing Eric along with my GH4 and Edelkrone slider. Unfortunately, I forgot to pack my remote cable so I couldn’t use the Edelkrone motion unit to control the timing on the GH4 time-lapse. Luckily, the GH4 has a great in-built time-lapse function, so while the movement wouldn’t look 100% “right”, it wouldn’t be too bad.

So we set up and had about 20 minutes to wait for the time-lapse to complete. My brother is a passionate and very talented musician, so he pulled out his guitar and, in the beautiful weather, sat on the sea wall and played. He was doing his thing so I grabbed my A7s, slapped on a ND filter, and did my thing.

Initially I thought I would just set up my DR40 next to him to record audio of what he was playing, but I was getting way too much wind noise on it and didn’t have my dead cat handy.

Sidenote: here is an important lesson! NEVER trust your audio meters - always have a set of headphones handy and listen to your audio because there can always be issues your meters won’t tell you about.

To combat the wind, I grabbed my wireless lab mic and just stuck it to his shirt. While we still got a bit of sea noise, his playing was clearer by far.

He played away and I just shot various angles and experimented a bit with compositions and pull focuses. Normally I try to hold my shot steady for about 10-15 seconds, then reposition. But then I would have only had 10-15 sound bites of his audio. So I decided to just keep recording and then cut in the first few short shots I had gotten before I decided to “shoot long”.

Once I got the footage onto the timeline in Final Cut, I realised that what I should have done was to ask him to play the same song three or four times and capture different angles, but I didn’t at the time, so I had to work with what I had :)

Why would it have been better if I had the same song of the different angles? Continuity. You’ll notice when I cut away to my “b-roll” shots, his hand movements don’t exactly match, specifically when he slaps the guitar. I watched through the clips and marked where he did slap it and then tried to match it as best I could to the sound waves of when he did on the audio. Far from perfect, but ok for just messing around :)

The colour correction was really easy. Once you know what you’re doing in Final Cut, and if you expose well when you shoot, I have found S-Log2 pretty straightforward on this occasion to make it pop. So there you have it - a quick capture of my brother’s passion on a chilled afternoon.

Below I have also embedded 2 more clips. One is the same clip, but showing before and after correction and the other is a tutorial on how the CC was done.

A little thing I shot with my brother. Showing what it looked like with and without grading. You can read more about it at www.capturingpassion.com and then go to the post in the trail and error section.

A short tutorial on how I colour corrected some clips of my brother shot in S-Log2 with the Sony a7s.

Comment

A random thing happened on the way to the synagogue

4 Comments

A random thing happened on the way to the synagogue

A new Torah procession

A new Torah

We are staying in lovely little AirBNB apartment in Tel Aviv on our Israel leg of this trip. We got “home” on our second day here and could hear what sounded like a wedding going on somewhere in the neighbourhood. I say it sounded like a wedding because I have shot a few Jewish weddings recently and the music sounded very much like that played at those weddings.

There was also someone talking on a loudspeaker, so I guessed it may have been a rally of some sort. It had been a long day of exploring and we were both pretty tired, but once I heard a song that I really like, I decided to get off my arse and see what was going on.

I followed the sounds and discovered two trucks lit up with neon lights followed by what looked like a mobile chupah and a big crowd. Then I remembered that there was a synagogue near our place and realised that this must be a procession for a new Torah scroll.

A Torah scroll is a handwritten book of the old testament. It’s a very holy thing for Jews and it’s a huge celebration when a synagogue gets a new one. I snapped some pics with my iPhone, but this event deserved video. I had been experimenting with S-log2 on my A7s and thought this “night shoot” would be a great chance to play around.

I ran back to the apartment, grabbed the camera - thankfully my new Ziess 35mm f1.4 (beautiful lens) was ready to go - and off I went.

As much as I wanted to capture the moment, I was aware that this was not a wedding I had been hired to shoot and I didn’t want to get in people’s faces too much. This is where the APSC mode on the camera really comes in handy. I was able to have a prime lens on the camera, but effectively switch from a 35mm to a 50-ishmm when I wanted to get a bit closer without intruding.

Looking at what I got, I think I’m getting a better idea of what S-log2 does and how to best expose for it. I have my zebras at 75% and I didn’t have a ND filter on. As a result, the lowest ISO was I going to get with S-log2 was going to be 3200. It looked, from the zebras, that I was overexposing a lot. I was pleasantly surprised when I got the footage back in FCP X that, except for one or two shots of the lights on the vans, I hadn’t overexposed much of the footage at all.

As for the compositions and actual camera work, considering it was all handheld, I am pretty happy with the steadiness of it. It’s far from perfect, but acceptable. I do wish I had been a bit braver and just asked people if they minded if I filmed them and gotten a few more intimate shots. As it is, I feel that most of the clip has very similar framing.

The colour correction took me quick a while. I think I’ll have to write another entire post on that (if I can remember since I cut this two days ago and have been on the road since!).

The short version would be that I used the built in colour tools in FCP X along with Magic Bullet Mojo. Mostly I was just getting more contrast and a bit more warmth. I know that S-log2 is meant to be very flat, but I found I didn’t have to bump up the saturation nearly as much as I thought I would need to.

I suppose the colour “look” I got with Magic bullet I could have done on my own with the built in tools of FCP X, but that would have been ages of playing around and experimenting. With plug-ins like Magic Bullet, FilmConvert and Colourista, I have these pre-prepared looks and it makes my work much faster.

Still, as a spur-of-the-moment shoot and quick edit, I think what I got was fairly engaging :)

Music purchased from www.cinephonix.com

4 Comments